How to Charge Marine Trolling Motor Battery with Solar Panel in 2026
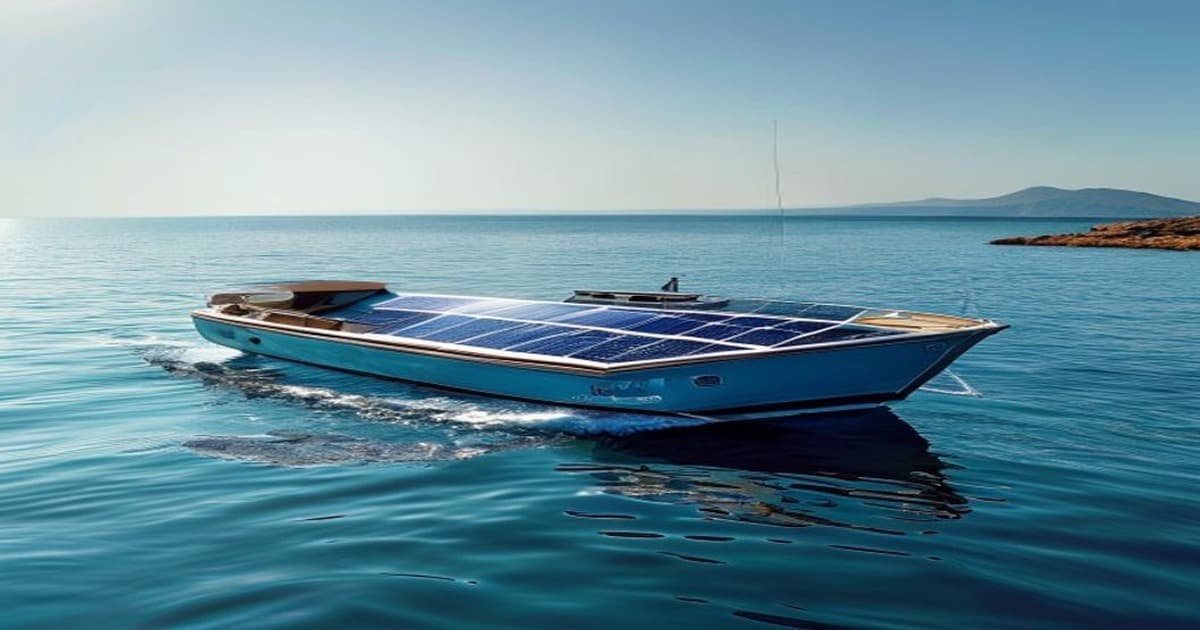
Discover the essential components and setup steps for solar‑charging a marine trolling motor battery. This guide covers panel selection, charge controllers, wiring, and optimization tips to keep you on the water longer in 2026.
How to Charge Marine Trolling Motor Battery with Solar Panel in 2026
If you rely on a trolling motor for fishing or leisurely lake cruising, keeping the battery charged is essential. In 2026, solar technology has become more affordable and efficient, making it easier than ever to harness sunlight to maintain your marine battery. This guide explains how to charge marine trolling motor battery with solar panel setups, walks you through component selection, provides installation tips, and highlights optimization strategies. By the end, you’ll know exactly what you need to build a reliable, eco‑friendly charging system that extends your time on the water.
Introduction to Solar Charging for Trolling Motors
Marine trolling motor batteries are typically deep‑cycle lead‑acid or lithium‑iron‑phosphate (LiFePO4) units rated at 12 V, 24 V, or 36 V. Solar charging works by converting sunlight into DC electricity via photovoltaic panels, regulating that power with a charge controller, and storing it in the battery. Directly connecting a solar panel to a battery without a controller risks overcharging, which can dramatically shorten battery life or cause safety issues.
A proper solar charging system includes three core elements:
- Solar panel(s) – generate power from sunlight.
- Solar charge controller – regulates voltage and current to prevent overcharge.
- Battery bank – stores the energy for later use.
Using solar power reduces reliance on shore power or noisy generators, offering silent operation and lower operating costs. Whether you have a small 12 V kayak motor or a larger 24 V pontoon setup, the principles remain the same.
How to Charge Marine Trolling Motor Battery with Solar Panel: Understanding the Basics
Before purchasing any gear, assess your energy needs. Determine the amp‑hour (Ah) rating of your trolling motor battery and the typical discharge depth during a outing. For example, a 100 Ah 12 V battery discharged to 50 % uses 50 Ah of capacity. To replenish that energy in a day of fishing, you need enough solar wattage to produce roughly 50 Ah × 12 V = 600 Wh, accounting for system losses (typically 20‑30 %). Therefore, aim for a solar array capable of delivering 750‑800 Wh per day under your local sunlight conditions.
Solar panel output is rated in watts under standard test conditions (STC). Real‑world production varies with angle, shading, temperature, and geographic location. In 2026, most affordable monocrystalline panels produce between 300‑400 W per unit, making it feasible to meet the needs of a trolling motor battery with one or two panels.
A critical component is the MPPT (Maximum Power Point Tracking) solar charge controller. MPPT controllers are up to 30 % more efficient than older PWM (Pulse Width Modulation) models, especially when the panel voltage exceeds the battery voltage. They continuously adjust the electrical operating point of the panels to harvest the maximum available power.
When selecting a controller, ensure it matches your system voltage (12 V, 24 V, or 36 V) and can handle the combined wattage of your solar array. For a 200 W solar panel on a 12 V system, a controller rated for at least 20 A is advisable.
How to Charge Marine Trolling Motor Battery with Solar Panel: Selecting Solar Panels and Controllers
Choosing the right solar panel involves balancing size, weight, efficiency, and durability. Marine environments expose equipment to moisture, salt, and vibration, so panels with corrosion‑resistant frames and tempered glass are preferable.
Monocrystalline panels offer the highest efficiency per square foot, making them ideal when space is limited on a boat deck or kayak. Polycrystalline options are slightly less efficient but often more budget‑friendly. Flexible or semi‑flexible panels can conform to curved surfaces, though they may have shorter lifespans.
For a typical 12 V trolling motor battery, a single 100‑200 W monocrystalline panel paired with a 10‑20 A MPPT controller provides sufficient daily recharge for moderate use. If you plan longer trips or run additional accessories (lights, fish finders), consider scaling up to a 300‑400 W array.
When shopping, look for panels with:
- High efficiency (>20 % for monocrystalline)
- IEC 61215 and IEC 61730 certifications for durability
- Warranty of at least 10‑12 years
- MC4 connectors for easy, secure wiring
Charge controllers should feature:
- MPPT technology with >95 % efficiency
- Temperature compensation
- LCD display or Bluetooth monitoring (many 2026 models offer smartphone apps)
- Over‑voltage, over‑current, short‑circuit, and reverse‑polarity protection
- Compatibility with lithium LiFePO4 batteries if you opt for a lithium trolling motor battery
Setting Up the Solar Charging System
Installation is straightforward if you follow a few best practices. Begin by mounting the solar panel where it receives unobstructed sunlight for the majority of the day. Common locations include the top of a trolling motor mount, a bimini top, or a dedicated pole mount on the transom. Use marine‑grade stainless‑steel hardware and silicone sealant to prevent leaks.
Wiring the System
- Panel to Controller – Connect the panel’s MC4 leads to the controller’s solar input terminals, observing polarity (+ to +, – to –). Use UV‑resistant PV wire sized for the current (typically 10‑12 AWG for under 20 A).
- Controller to Battery – Run appropriately sized cable from the controller’s battery output terminals to the battery terminals. Include an inline fuse or circuit breaker rated slightly above the controller’s maximum charge current (e.g., 25 A fuse for a 20 A controller) on the positive line within 18 inches of the battery.
- Grounding – Bond the controller’s ground terminal to the boat’s grounding system if required by local regulations.
Configuration
After wiring, set the controller’s battery type (lead‑acid, AGM, gel, or LiFePO4) and voltage. Many MPPT controllers have preset profiles; select the one matching your battery chemistry. Enable low‑voltage disconnect if you want the controller to prevent excessive discharge.
Testing
Measure open‑circuit voltage (Voc) of the panel with a multimeter to ensure it’s within the controller’s input range. Then, in full sunlight, verify that the controller shows a charging current and that the battery voltage rises gradually. Monitor for any error codes.
Tips for Optimizing Solar Charging Performance
Even a well‑specified system can underperform if not optimized. Consider these strategies to maximize energy harvest:
- Angle and Orientation – Tilt the panel toward the sun’s path. In the northern hemisphere, a south‑facing tilt equal to your latitude plus 10‑15 degrees works well in summer; adjust seasonally if you have an adjustable mount.
- Shade Avoidance – Partial shade on even a single cell can disproportionately reduce output. Use bypass diodes (built into most modern panels) and keep the panel clear of debris, bird droppings, and fishing gear.
- Temperature Management – Solar panels lose efficiency as they heat up. Mounting with a small air gap behind the panel allows passive cooling.
- Battery Maintenance – Keep terminals clean and tight. For lead‑acid batteries, check electrolyte levels monthly (if applicable) and keep them charged above 50 % to avoid sulfation. Lithium batteries require minimal maintenance but should be stored at ~50 % charge if not used for extended periods.
- System Monitoring – Use a Bluetooth‑enabled controller or a separate battery monitor to track amp‑hours in and out. This data helps you adjust usage patterns and anticipate when supplemental charging might be needed.
- Backup Options – For extended overcast periods, consider a portable solar generator or a second battery bank that can be charged via shore power and swapped in. Products such as the Goal Zero Power Stations on Amazon or EcoFlow Power Stations on Amazon provide convenient backup.
Recommended Products and Where to Buy
Below is a curated list of products that complement a marine trolling motor solar charging system. Each link is a ready‑to‑use affiliate URL; clicking supports this guide at no extra cost to you.
- LiTime Lithium Batteries – Reliable LiFePO4 options ideal for deep‑cycle marine use.
- Complete Off-Grid Solar Kits on Amazon – All‑in‑one kits that include panels, controllers, and mounting hardware.
- Solar Inverters on Amazon – Though not required for pure DC charging, useful if you plan to run AC accessories.
- MPPT Solar Charge Controllers on Amazon – High‑efficiency controllers to maximize solar harvest.
- Portable Solar Generators on Amazon – Handy for backup power or charging multiple devices.
- Solar Battery Storage on Amazon – Additional battery banks for expanded capacity.
- Monocrystalline Solar Panels on Amazon – High‑efficiency panels suited for limited boat space.
- Nature's Generator Solar Systems – Integrated solar generator solutions.
- Amazon Solar Products – Broad selection of panels, controllers, and accessories.
- Lectron EV Chargers – For those who also charge electric tenders or auxiliary EVs.
- ALLPOWERS Solar Products – Versatile panels and kits for marine applications.
- EcoFlow Power Stations on Amazon – Portable power stations with solar input.
- 500W Solar Panels on Amazon – High‑output panels for larger battery banks.
- 400W Solar Panels on Amazon – Mid‑size panels offering a balance of size and power.
- Enphase Home Energy on Amazon – Microinverter technology adaptable to marine DC systems with proper configuration.
- SolarEdge Home Battery on Amazon – Battery storage options that can be paired with solar.
- Solar Roof Panels on Amazon – Rigid panels suitable for fixed mounts.
- SunPower Solar Panels on Amazon – Industry‑leading efficiency for tight spaces.
- Victron Solar Products on Amazon – Premium controllers and monitoring gear.
- Off-Grid Solar Panels on Amazon – Durable panels built for rugged environments.
- Renogy Solar Panels on Amazon – Popular choice for DIY solar enthusiasts.
- Solar Generators on Amazon – All‑in‑one portable power solutions.
- Jackery Power Stations on Amazon – Trusted brand for portable power.
- EcoFlow Delta Pro on Amazon – High‑capacity portable station with fast solar charging.
- 350W Solar Panels on Amazon – Specific wattage option for fine‑tuning array size.
- 500W Polycrystalline Solar Panels on Amazon – Cost‑effective polycrystalline alternative.
- Solar Roof Panels on Amazon – Another roof‑mount panel option.
- SolarEdge Home Battery on Amazon – Additional battery storage choice.
- BLUETTI Portable Power Stations – Reliable portable stations with solar input.
- Eco-Worthy Solar Products – Budget‑friendly panels and kits.
- Jackery Solar Generators – Solar‑focused generators from Jackery.
- FOSSiBOT Portable Power Stations – Rugged portable power for outdoor use.
- Burchda Electric Bikes – If you also power e‑bikes from your solar setup.
- Sun Gold Power – Specialized solar components.
- Redodo Power – Additional power solutions for marine applications.
Feel free to mix and match based on your voltage requirements, available space, and budget. Many of these products are eligible for Prime shipping, ensuring you receive them quickly for the 2026 fishing season.
Conclusion
Solar charging offers a silent, sustainable way to keep your marine trolling motor battery ready for action. By understanding your energy needs, selecting the appropriate solar panel and MPPT charge controller, and following sound installation practices, you can build a system that reliably replenishes your battery day after day. Remember to optimize panel angle, avoid shade, and monitor performance to get the most out of your investment.
With the wide range of affordable, high‑quality solar components available in 2026—including the linked products above—there’s never been a better time to go solar on the water. Equip your boat, kayak, or pontoon with a solar charging setup, and enjoy longer trips, quieter operation, and peace of mind knowing you’re harnessing clean energy straight from the sun.
If you're serious about protecting your links, your data, and your brand, it's time to stop sharing raw URLs.
Start using Bilt.ly.
Get started free →