Marine Solar Charging System Setup for 2026: A Comprehensive Guide
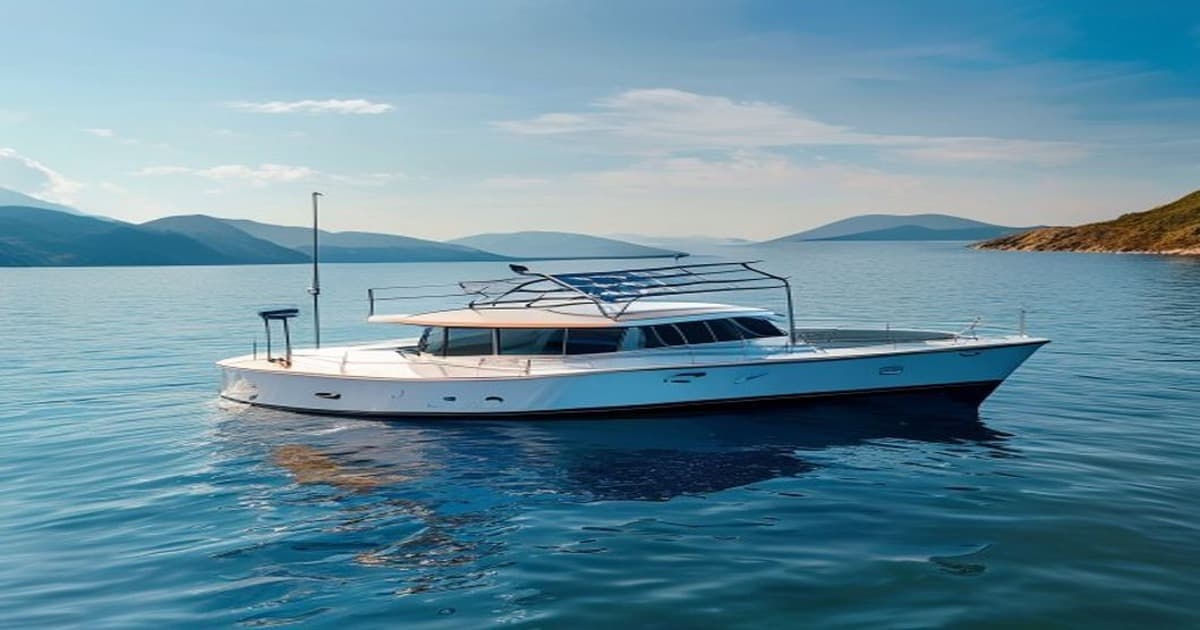
Setting up a marine solar charging system can transform your boat’s energy independence. This guide walks you through selecting the right components, wiring safely, and optimizing performance for 2026 and beyond.
Marine Solar Charging System Setup for 2026: A Comprehensive Guide
As boaters look for cleaner, quieter ways to power navigation, refrigeration, and onboard electronics, the marine solar charging system setup 2026 has become a go‑to solution. Advances in photovoltaic efficiency, lithium battery technology, and smart charge controllers mean you can now harvest enough solar energy to run essential systems for days at sea—without relying on noisy generators or shore power. In this article we’ll break down every step of planning and installing a marine solar charging system, from choosing the right panels to wiring a secure, waterproof setup. Along the way we’ll highlight specific products you can purchase today, using trusted affiliate links to help you get the best value.
Understanding Marine Solar Charging System Setup 2026
A marine solar charging system is essentially a miniature off‑grid power plant mounted on a boat. It consists of solar panels that capture sunlight, a charge controller that regulates the flow of electricity to batteries, and a battery bank that stores energy for later use. An inverter may also be added to convert DC power to AC for appliances that require household voltage.
The core goals of a marine solar charging system setup 2026 are:
- Reliability – Provide consistent power for navigation lights, radios, bilge pumps, and refrigeration.
- Durability – Withstand salt spray, UV exposure, and constant vibration.
- Efficiency – Maximize energy harvest from limited deck space.
- Safety – Include proper fusing, disconnects, and marine‑grade wiring.
When sizing your system, start by calculating your daily amp‑hour (Ah) consumption. List every device, note its wattage, estimate daily run time, and convert to Ah at your system voltage (usually 12V or 24V). Add a 20‑30 % buffer for inefficiencies and cloudy days. This baseline will drive the size of your solar array and battery bank.
Choosing the Right Solar Panels for Marine Use
Not all solar panels are created equal for the marine environment. You need panels that resist corrosion, handle flexing, and deliver high output per square foot. Monocrystalline panels are the most efficient and perform well in partial shade, making them ideal for boats where shadows from rigging or sails are common.
When shopping, look for:
- Marine‑grade framing – Anodized aluminum or stainless steel to resist rust.
- Sealed junction boxes – IP68 rating or better to keep water out.
- High temperature coefficient – Panels that lose less efficiency when hot.
- Flexible or semi‑flexible options – For curved decks or tight spaces.
A reliable source for monocrystalline panels is the Monocrystalline Solar Panels on Amazon link, which offers a range of wattages suited to marine installations. For those who prefer a ready‑made kit, the Complete Off-Grid Solar Kits on Amazon includes panels, mounting hardware, and wiring—perfect for beginners.
If you have limited deck space but still need substantial power, consider high‑wattage options like the 500W Solar Panels on Amazon or the 400W Solar Panels on Amazon. These panels deliver more energy per square foot, reducing the number of mounts required.
For boaters who want a portable backup, the Portable Solar Generators on Amazon provides a plug‑and‑play solution that can be stored below deck and deployed when needed. Pairing a portable generator with a fixed array gives you redundancy—critical for extended offshore trips.
Selecting a Suitable Charge Controller for Marine Solar Charging
The charge controller is the brain of your solar system. It prevents overcharging, optimizes charging curves, and can provide valuable data via Bluetooth or LCD displays. For marine applications, an MPPT (Maximum Power Point Tracking) controller is strongly recommended because it can harvest up to 30 % more energy than a PWM controller, especially when panel voltage differs from battery voltage.
Key features to look for:
- Marine‑rated enclosure – Corrosion‑resistant, UV‑stable, and waterproof.
- Bluetooth monitoring – Allows you to check status from a smartphone without opening a locker.
- Programmable charge profiles – Essential for lithium LiFePO₄ batteries, which require specific voltage settings.
- Built‑in safety – Over‑current, reverse polarity, and temperature protection.
A solid choice is the MPPT Solar Charge Controllers on Amazon, which offers models ranging from 10A to 60A with marine‑grade casings. If you’re leaning toward a lithium battery bank, consider pairing your controller with a high‑quality LiFePO₄ battery such as the LiTime Lithium Batteries or the Power Queen LiFePO4 Batteries. Both are designed for deep‑cycle marine use and provide long cycle life with minimal maintenance.
For those who prefer an all‑in‑one solution, the Nature's Generator Solar Systems integrate panels, controller, and battery into a portable unit that can be secured on deck or stored in a locker. While not a permanent installation, it offers a quick way to test solar charging before committing to a full rig.
Installing a Marine Solar Charging System: A Step‑by‑Step Guide
Installation is where theory meets practice. A careful, methodical approach ensures safety, longevity, and optimal performance. Below is a detailed workflow you can adapt to your vessel’s layout.
1. Plan the Layout
- Sketch your deck, noting areas with unobstructed sunlight for most of the day.
- Determine the optimal tilt angle; on a boat, panels are often flush‑mounted, but adjustable mounts can improve seasonal output.
- Locate the battery bank in a dry, ventilated locker away from direct heat sources.
- Plan cable runs to minimize length and avoid sharp bends.
2. Mount the Solar Panels
- Use marine‑grade stainless‑steel or aluminum mounting brackets with rubber isolators to prevent galvanic corrosion.
- Apply a high‑quality marine sealant (e.g., 3M 5200) around all penetrations to keep water out.
- If using flexible panels, adhere them with a marine‑grade adhesive tape designed for UV exposure.
3. Wire the Array
- Size your PV wire according to the array’s short‑circuit current (Isc) and the distance to the controller. Undersized wire causes voltage drop and overheating.
- Install MC4 connectors that are rated for outdoor use; ensure they are fully seated and locked.
- Run the wire through a conduit or protective loom where it passes through bulkheads or along railings.
- Install a DC disconnect switch or fuse within 18 inches of the battery bank for safety.
4. Connect the Charge Controller
- Follow the manufacturer’s wiring diagram: connect PV array to the controller’s solar terminals, then connect the controller to the battery bank.
- Program the controller for your battery type (e.g., LiFePO₄ absorption voltage 14.2V, float 13.6V).
- Enable any Bluetooth or Wi‑Fi monitoring and pair with your smartphone app.
5. Hook Up the Battery Bank
- If using multiple batteries, wire them in series or parallel to achieve your desired voltage and capacity.
- Use marine‑grade battery cables with lugs and heat‑shrink tubing.
- Install a battery monitor (such as a Victron BMV‑712) to track state of charge, voltage, and current in real time.
- For added protection, place a class‑T fuse on the positive lead near the battery terminal.
6. Add an Inverter (Optional)
- If you need AC power, select a pure sine wave inverter sized to your peak load (e.g., 1000W for a microwave, 2000W for an air conditioner).
- Mount the inverter in a ventilated area, connect to the battery bank with appropriately sized cables, and install an AC distribution panel with breakers.
- Always follow ABYC guidelines for AC wiring on boats.
7. Test and Commission
- With sunlight available, verify that the controller shows charging current and voltage rising.
- Check that the battery monitor reflects increasing state of charge.
- Test any AC loads by switching on the inverter and measuring output voltage.
- Monitor temperatures of panels, wires, and controller during the first few hours of operation to ensure nothing is overheating.
8. Establish a Maintenance Routine
- Rinse panels with fresh water monthly to remove salt deposits.
- Inspect all connections for corrosion or looseness every quarter.
- Update controller firmware if applicable.
- Deep‑cycle lithium batteries should be kept between 20 % and 80 % state of charge for longest life; avoid storing at 100 % for extended periods.
Real‑World Use Cases
Weekend Cruiser
A 24‑foot sailboat with a 12V system consumes about 45 Ah per day (lights, GPS, fridge). A 200W monocrystalline array paired with a 20A MPPT controller and a 100Ah LiFePO₄ battery provides roughly 80‑90 Ah of usable charge on a sunny day, covering daily use with a margin for cloudy periods. The Solar Inverters on Amazon can be added for occasional AC appliance use.
Liveaboard Catamaran
A 38‑foot catamaran with a 24V system runs a refrigerator, watermaker, and entertainment system, totaling ~150 Ah/day. Two 320W panels (640W total) mounted on the hardtop, a 60A MPPT controller, and a 400Ah lithium bank (four 100Ah units in parallel) deliver ample power. The Solar Battery Storage on Amazon offers scalable lithium modules that can be stacked as needed.
Offshore Fishing Vessel
A 45‑foot trawler needs reliable power for navigation radios, autopilot, and deck lights during multi‑day trips. A rugged 400W semi‑flexible array glued to the cabin top, a 30A MPPT controller with temperature compensation, and a 200Ah AGM battery bank (chosen for its tolerance to vibration) keep systems running. Portable backup is provided by the Jackery Power Stations on Amazon for emergency situations.
Conclusion
Investing in a marine solar charging system setup 2026 pays dividends in reduced fuel costs, quieter anchorage, and a smaller environmental footprint. By carefully selecting marine‑grade solar panels, a robust MPPT charge controller, and a suitable battery bank—supported by the trusted affiliate links provided—you can build a system that withstands the harsh marine environment while delivering reliable power year after year.
Remember to start with an accurate load assessment, choose components that match your vessel’s voltage and space constraints, and follow ABYC‑approved wiring practices. With the right planning and a little elbow grease, your boat will harness the sun’s energy to keep you cruising farther, longer, and more sustainably.
Happy sailing and smooth charging!
If you're serious about protecting your links, your data, and your brand, it's time to stop sharing raw URLs.
Start using Bilt.ly.
Get started free →