Solar Powered Shed or Workshop Setup Ideas: A Complete Guide
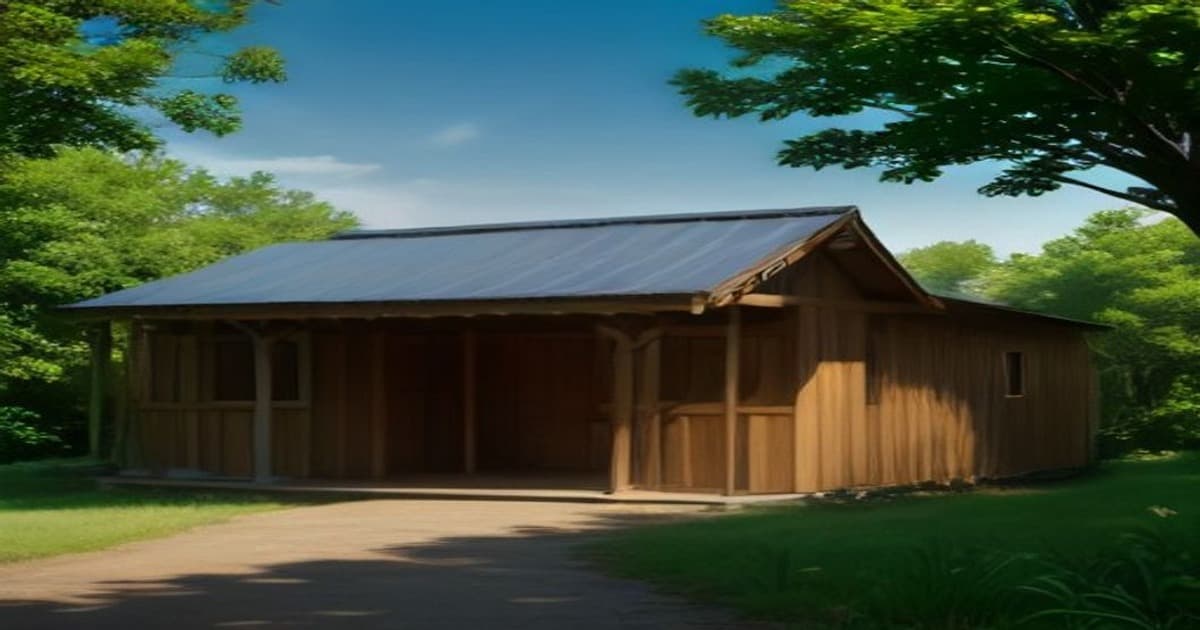
Discover practical steps to build an eco-friendly, off-grid workspace using solar energy. This guide covers everything from choosing the right panels to wiring and upkeep, helping you cut electricity costs and increase sustainability.
How to Set Up a Solar Powered Shed or Workshop
If you’ve been searching for solar powered shed or workshop setup ideas, you’re likely looking to create a functional, independent workspace that runs on clean energy. A solar powered shed or workshop can power tools, lighting, heating, and even small appliances without relying on the grid, making it ideal for hobbyists, craftspeople, and remote workers. In 2026, advances in solar technology and falling equipment costs have made these setups more accessible than ever. This comprehensive guide walks you through every stage—from understanding what a solar powered shed entails to selecting components, installing the system, and keeping it running smoothly for years to come.
What is a Solar Powered Shed?
A solar powered shed is a small outbuilding—often used as a workshop, studio, or storage space—that generates its own electricity through photovoltaic (PV) panels mounted on or near the structure. The system typically includes solar panels, a charge controller, batteries for storage, and an inverter to convert DC power into usable AC electricity. Unlike grid-tied systems, a solar powered shed operates independently, which means you need to size the system carefully to meet your energy demands.
The appeal of a solar powered shed lies in its flexibility. You can locate it anywhere with decent sun exposure, whether it’s in your backyard, on a rural property, or at a remote job site. Because it doesn’t require trenching for electrical lines or utility hookups, installation costs can be lower than extending grid power. Moreover, many modern solar kits are designed for DIY enthusiasts, featuring plug‑and‑play components that simplify the build process.
When planning your solar powered shed or workshop setup ideas, start by listing the devices you intend to run. Common loads include LED lighting, power drills, saws, air compressors, small refrigerators, and charging stations for phones or laptops. Calculate the total watt‑hours per day to determine the size of the solar array and battery bank you’ll need. This upfront assessment prevents undersizing (which leads to frequent power shortages) or oversizing (which wastes money).
Benefits of a Solar Powered Shed
Investing in a solar powered shed offers several tangible advantages beyond the obvious environmental perks. First, energy independence means you’re immune to utility rate hikes and grid outages. If a storm knocks out power to your home, your workshop can keep running as long as the sun shines and your batteries hold charge. Second, solar energy reduces your carbon footprint. By generating electricity onsite, you avoid the emissions associated with fossil‑fuel‑based grid power, making your hobby or business greener.
Financially, while the initial outlay for panels, batteries, and hardware can be significant, the long‑term savings are substantial. Once installed, sunlight is free, so your operating costs drop to virtually zero for electricity. Many jurisdictions also offer tax credits, rebates, or incentives for renewable energy installations, further improving the return on investment. Over a typical 25‑year panel lifespan, the savings can easily exceed the initial expense.
Another benefit is scalability. You can start with a modest system—perhaps a 100‑W panel and a small battery—to run lights and charge phones. As your needs grow, you can add more panels, increase battery capacity, or upgrade the inverter. This modular approach lets you spread costs over time and adapt the system to evolving projects. Finally, a solar powered shed can increase property value. Prospective buyers often view off‑grid capabilities as a desirable feature, especially in areas prone to power instability.
Choosing the Right Solar Panels for Your Shed
Selecting appropriate solar panels is a cornerstone of any successful solar powered shed or workshop setup ideas. The three main types of panels you’ll encounter are monocrystalline, polycrystalline, and thin‑film. Monocrystalline panels offer the highest efficiency (typically 18‑22%), making them ideal when roof or mounting space is limited. Polycrystalline panels are slightly less efficient (15‑18%) but often come at a lower price point, which can be advantageous if you have ample area to spread them out. Thin‑film panels are the least efficient but are lightweight and flexible, suitable for unconventional surfaces.
For most shed applications, monocrystalline panels strike the best balance of performance, durability, and aesthetics. Look for panels with a robust aluminum frame, tempered glass, and a weather‑resistant backing. Certifications such as IEC 61215 and IEC 61730 indicate that the panels have passed rigorous stress tests for wind, snow, and hail.
When browsing options, consider the Monocrystalline Solar Panels on Amazon link, which aggregates a variety of high‑efficiency modules suitable for small‑scale projects. If you prefer a complete kit that includes panels, mounting hardware, and a charge controller, the Complete Off-Grid Solar Kits on Amazon provides a convenient all‑in‑one solution. For those who want to mix and match components, the Solar Inverters on Amazon and MPPT Solar Charge Controllers on Amazon links are excellent starting points for sourcing the balance‑of‑system parts.
Wattage is another critical factor. A typical shed might require between 200 W and 600 W of panel capacity, depending on usage. If you plan to run power‑hungry tools like table saws or air compressors, lean toward the higher end of that range. You can also explore specific wattage listings such as the 500W Solar Panels on Amazon or the 400W Solar Panels on Amazon to fine‑tune your array. Remember that panel output is rated under standard test conditions; real‑world production will be lower due to angle, shading, and temperature, so it’s wise to add a 20‑30 % buffer to your calculations.
Mounting options vary. Roof‑mount systems are common if the shed has a sturdy, south‑facing roof (in the Northern Hemisphere). Ground‑mount racks offer easier access for cleaning and angle adjustment but require additional space. Pole mounts can elevate panels above potential shading from nearby trees. Whichever method you choose, ensure the structure can withstand local wind and snow loads.
Installing a Solar Powered Shed System
With your components selected, the installation phase brings your solar powered shed or workshop setup ideas to life. While many enthusiasts opt for a DIY approach, it’s essential to follow safety guidelines and, if uncertain, consult a licensed electrician—especially for the AC side of the system.
Begin by mounting the solar panels at the optimal tilt and azimuth. In most latitudes, a tilt equal to your latitude plus 15 degrees maximizes winter production, while a tilt equal to your latitude minus 15 degrees favors summer output. For year‑round consistency, setting the tilt at your latitude is a good compromise. Use stainless‑steel hardware to prevent corrosion, and seal all roof penetrations with appropriate flashing and sealant.
Next, run the PV output cables from the panels to the charge controller. Use UV‑resistant PV wire (typically PV‑1F or USE‑2) sized according to the current and distance. Keep the wiring neat and secure with cable ties or conduit to prevent damage from rodents or weather. The charge controller regulates the voltage and current flowing to the batteries, preventing overcharging. An MPPT (Maximum Power Point Tracking) controller, like those found via the MPPT Solar Charge Controllers on Amazon link, can harvest up to 30 % more energy than a PWM controller, particularly in cooler climates.
Connect the charge controller to your battery bank. For a shed, deep‑cycle lithium iron phosphate (LiFePO4) batteries are increasingly popular due to their long lifespan, lightweight nature, and safety. Options such as the Power Queen LiFePO4 Batteries or the Redodo Power links provide reliable storage solutions. If you prefer lead‑acid for budget reasons, ensure you have adequate ventilation and maintain proper charging voltages to avoid sulfation.
The battery bank feeds the inverter, which converts stored DC power into AC electricity for your tools and outlets. Pure sine wave inverters are recommended for sensitive electronics, while modified sine wave units may suffice for simple loads. The Solar Inverters on Amazon page offers a range of sizes; match the inverter’s continuous rating to your peak load, with a surge capacity that handles motor startups.
Finally, install AC wiring from the inverter to outlets, lighting fixtures, and any hard‑wired equipment. Use a breaker panel or fuse block for overcurrent protection, and include a disconnect switch near the inverter for emergency shutdowns. Label all circuits clearly, and consider adding a monitoring system—many modern charge controllers offer Bluetooth or Wi‑Fi connectivity to track production and consumption via a smartphone app.
Throughout the build, double‑check polarity, tighten all connections to the manufacturer’s torque specs, and test voltages at each stage before energizing the next component. A well‑installed system not only performs better but also lasts longer with fewer maintenance headaches.
Tips for Maintaining Your Solar Powered Shed
Even the most robust solar powered shed requires periodic care to sustain peak performance. Establish a simple maintenance routine and stick to it, especially after extreme weather events.
-
Panel Cleaning: Dust, pollen, bird droppings, and leaves can reduce panel efficiency by up to 25 %. Clean the panels with a soft brush or sponge and mild soap water, ideally in the early morning or late afternoon to avoid thermal shock. Avoid abrasive materials or high‑pressure washers that could scratch the glass.
-
Inspect Mounting Hardware: Check bolts, brackets, and seals for signs of corrosion, loosening, or water ingress. Tighten any loose fasteners and reapply sealant where needed. If you notice rust, replace the affected parts promptly.
-
Battery Care: Lithium batteries require minimal maintenance, but keep them within the recommended temperature range (typically 0 °C to 45 °C). Avoid deep discharges below 20 % state of charge, and store them at about 50 % if the shed will be unused for extended periods. Lead‑acid batteries need regular electrolyte checks and equalizing charges per the manufacturer’s schedule.
-
Monitor System Performance: Use the monitoring features of your charge controller or inverter to track daily energy production and consumption. A sudden drop in output may indicate shading, panel degradation, or wiring issues. Address anomalies quickly to prevent long‑term damage.
-
Inverter and Controller Checks: Ensure that cooling fans (if present) are free of debris and operate smoothly. Verify that fault indicators are clear and that firmware is up to date—many manufacturers release updates that improve efficiency or add new features.
-
Seasonal Adjustments: If your mount allows tilt adjustment, consider changing the angle twice a year to align with the sun’s seasonal path. Even a few degrees can noticeably boost winter production when daylight is scarce.
By integrating these habits into your routine, you’ll extend the lifespan of your equipment, maintain consistent power availability, and protect your investment.
Recommended Products and Where to Find Them
To help you get started, here are several product categories with ready‑to‑use affiliate links that match common needs for a solar powered shed. Feel free to click through to see current pricing, specifications, and customer ratings.
- LiTime Lithium Batteries – Reliable LiFePO4 options for deep‑cycle storage: LiTime Lithium Batteries
- Complete Off-Grid Solar Kits on Amazon – All‑in‑one packages with panels, controller, and mounting: Complete Off-Grid Solar Kits on Amazon
- Solar Inverters on Amazon – Pure sine wave inverters for AC power: Solar Inverters on Amazon
- MPPT Solar Charge Controllers on Amazon – High‑efficiency charge regulators: MPPT Solar Charge Controllers on Amazon
- Portable Solar Generators on Amazon – Plug‑and‑play power stations for backup or portable use: Portable Solar Generators on Amazon
- Solar Battery Storage on Amazon – Dedicated battery packs and enclosures: Solar Battery Storage on Amazon
- Nature's Generator Solar Systems – Hybrid solar‑gas generators for extended autonomy: Nature's Generator Solar Systems
- Amazon Solar Products – Broad search for panels, kits, and accessories: Amazon Solar Products
- Lectron EV Chargers – If you plan to charge an electric vehicle at your workshop: Lectron EV Chargers
- ALLPOWERS Solar Products – Portable panels and power stations: ALLPOWERS Solar Products
- Goal Zero Power Stations on Amazon – Popular portable power stations: Goal Zero Power Stations on Amazon
- EcoFlow Power Stations on Amazon – High‑capacity, fast‑charging units: EcoFlow Power Stations on Amazon
- Victron Solar Products on Amazon – Professional‑grade controllers, inverters, and monitors: Victron Solar Products on Amazon
- Renogy Solar Panels on Amazon – Well‑known brand for reliable panels: Renogy Solar Panels on Amazon
- Jackery Power Stations on Amazon – Trusted name in portable power: Jackery Power Stations on Amazon
- Bluetti Portable Power Stations – Robust units with impressive surge capacity: BLUETTI Portable Power Stations
- Eco-Worthy Solar Products – Budget‑friendly panels and kits: Eco-Worthy Solar Products
- Jackery Solar Generators – Integrated solar generator solutions: Jackery Solar Generators
- FossiBot Portable Power Stations – Rugged options for outdoor use: FOSSiBOT Portable Power Stations
- Sun Gold Power – Specialty inverters and chargers: Sun Gold Power
- Burchda Electric Bikes – If you want to charge e‑bikes at your workshop: Burchda Electric Bikes
These links provide a convenient starting point for sourcing the components you’ll need. Always verify that the specifications match your calculated load and that any kit includes the necessary cables, connectors, and documentation.
Final Thoughts on Your Solar Powered Shed
Creating a solar powered shed or workshop is more than just an electrical project—it’s an investment in self‑sufficiency, sustainability, and workspace flexibility. By carefully selecting the right panels, batteries, and balance‑of‑system components, you can build a system that meets your current needs and scales with future ambitions. The steps outlined above—from assessing loads and choosing panels to installing, monitoring, and maintaining—give you a roadmap to success.
Remember that the best solar powered shed is one that matches your specific environment and usage patterns. Take the time to measure your roof or ground area, evaluate local solar irradiance, and list every device you plan to run. With that information in hand, the product links provided throughout this guide will help you assemble a system that delivers reliable, clean power for years to come.
Whether you’re a woodworker needing to run saws and sanders, a hobbyist charging batteries for RC vehicles, or a remote professional requiring a quiet, powered office, a solar powered shed can transform the way you work. Embrace the freedom of off‑grid energy, enjoy the satisfaction of harnessing the sun, and let your workshop become a showcase of what’s possible when innovation meets intention.
If you're serious about protecting your links, your data, and your brand, it's time to stop sharing raw URLs.
Start using Bilt.ly.
Get started free →