Solar Powered Shed or Workshop Setup Ideas for Marine Applications
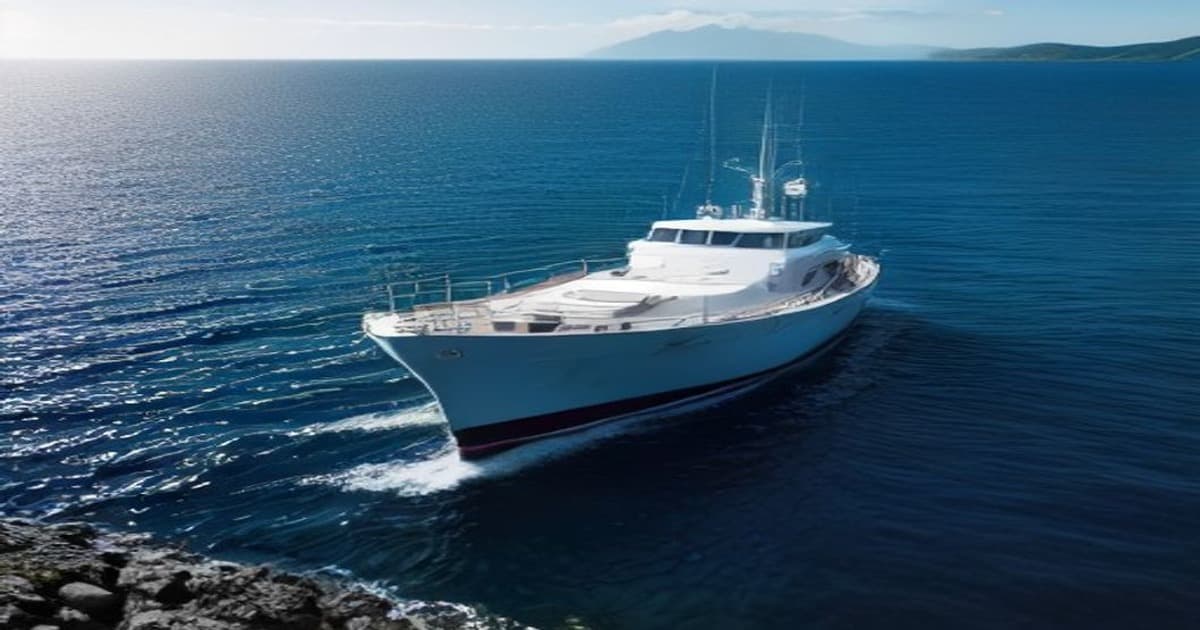
Setting up a solar powered shed or workshop on a boat or dock can transform your marine workspace into an efficient, off‑grid hub. This guide walks you through selecting the right panels, batteries, and installation practices to keep your tools running smoothly wherever you anchor. Plus, we share trusted product links to help you build a reliable system today.
Solar Powered Shed or Workshop Setup Ideas for Marine Applications
If you spend time on the water—whether you’re a fisherman, a marine researcher, a boat‑yard technician, or a hobbyist who loves tinkering on a dock—having a reliable source of power can make all the difference. A solar powered shed or workshop setup ideas for marine applications gives you the freedom to run lights, charge batteries, power tools, and even operate small appliances without relying on noisy generators or costly shore‑power hookups. In this guide we’ll break down the essential components, offer practical advice on sizing and placement, and point you to trusted products that are readily available through affiliate links. By the end you’ll have a clear roadmap for building a durable, low‑maintenance solar system that stands up to the marine environment.
Choosing the Right Solar Panels for Marine Applications
Marine settings present unique challenges for solar panels: constant exposure to salt spray, high humidity, vibration from waves, and the need for lightweight, low‑profile mounts. When selecting panels for a solar powered shed or workshop, consider three primary factors—efficiency, durability, and size/weight.
Efficiency matters because roof or deck space on a boat is often limited. Monocrystalline panels typically offer the highest efficiency rates (20‑23%), meaning you generate more watts per square foot. Polycrystalline options are slightly less efficient but can be more budget‑friendly if you have ample mounting area.
Durability is non‑negotiable. Look for panels with anodized aluminum frames, tempered glass, and sealed junction boxes rated IP67 or higher. Many marine‑grade panels also feature anti‑corrosion coatings and reinforced backsheets to withstand salt‑air exposure.
Size and weight affect both installation and vessel stability. Flexible or semi‑flexible panels can conform to curved surfaces and are much lighter than rigid glass‑front modules, making them ideal for bimini tops, cabins, or curved hull sections. However, flexible panels usually have lower efficiency and shorter lifespans, so they’re best suited for supplemental charging rather than primary power.
When calculating your needs, start with a load audit: list every device you plan to run, note its wattage, and estimate daily usage hours. Multiply wattage by hours to get watt‑hours per day, then add a 20‑30% buffer for inefficiencies and cloudy days. For example, a small workshop with LED lights (20 W × 5 h), a 12 V drill charger (60 W × 2 h), and a 12 V fridge (45 W × 24 h) would need roughly 1,500 Wh per day. A 300 W monocrystalline array producing ~1,200 Wh on a good day would require supplemental battery storage or a larger array.
To simplify your search, check out these ready‑to‑go options:
- Monocrystalline Solar Panels on Amazon
- 500W Solar Panels on Amazon
- 400W Solar Panels on Amazon
- 350W Solar Panels on Amazon
- 500W Polycrystalline Solar Panels on Amazon
- Solar Roof Panels on Amazon
- Solar Roof Panels on Amazon
- SunPower Solar Panels on Amazon
- Renogy Solar Panels on Amazon
- Off-Grid Solar Panels on Amazon
- Victron Solar Products on Amazon
- Eco-Worthy Solar Products
- Sun Gold Power
- ALLPOWERS Solar Products
These links take you directly to Amazon listings where you can compare specifications, read customer reviews, and see current pricing—all with the appropriate affiliate tracking already applied.
Selecting the Perfect Battery for Your Solar Powered Shed or Workshop
Battery storage is the heart of any off‑grid solar setup, especially in marine applications where you need to smooth out intermittent generation and provide power during the night or cloudy periods. The ideal battery for a solar powered shed or workshop must handle deep cycles, resist vibration, and tolerate temperature swings common on the water.
LiFePO₄ (Lithium Iron Phosphate) batteries have become the go‑to choice for marine solar systems. They offer a longer lifespan (2,000‑5,000 cycles vs. 300‑500 for lead‑acid), higher depth of discharge (80‑100% usable), lighter weight, and excellent performance in partial‑state‑of‑charge conditions. They also require no maintenance and are far less prone to sulfation—a common issue with lead‑acid batteries in damp environments.
When sizing your battery bank, convert your daily watt‑hour requirement into amp‑hours at your system voltage. For a 12 V system, divide watt‑hours by 12. Using the earlier example of 1,500 Wh per day, you’d need at least 125 Ah of usable capacity. Because LiFePO₄ can safely discharge to 80%, you’d size the bank to 125 Ah ÷ 0.8 ≈ 156 Ah total. A single 12 V 200 Ah LiFePO₄ battery would comfortably cover this load with room for expansion.
Key specifications to look for:
- Built‑in Battery Management System (BMS) for over‑voltage, under‑voltage, over‑current, and temperature protection.
- Marine‑grade terminals or the ability to add corrosion‑resistant connectors.
- A robust casing (often ABS or aluminum) that resists impact and vibration.
- Compatibility with your chosen solar charge controller (most LiFePO₄ batteries work with standard MPPT controllers, but verify voltage settings).
If you prefer a lead‑acid option for lower upfront cost, sealed AGM batteries are a decent alternative—they’re maintenance‑free and handle vibration better than flooded cells—but expect to replace them every 3‑5 years and limit depth of discharge to 50% to prolong life.
Here are some reliable battery options you can purchase right away:
- LiTime Lithium Batteries
- Power Queen LiFePO4 Batteries
- Redodo Power
- Solar Battery Storage on Amazon
- Enphase Home Energy on Amazon
- SolarEdge Home Battery on Amazon
- SolarEdge Home Battery on Amazon
- BLUETTI Portable Power Stations
- FOSSiBOT Portable Power Stations
- Jackery Power Stations on Amazon
- Jackery Solar Generators
- EcoFlow Power Stations on Amazon
- EcoFlow Delta Pro on Amazon
- Goal Zero Power Stations on Amazon
- Nature's Generator Solar Systems
- Lectron EV Chargers (useful if you also plan to charge electric tenders or accessories)
- Burchda Electric Bikes (for eco‑friendly transport around the marina)
These selections cover a range of capacities and form factors, from stationary deep‑cycle banks to portable power stations that can double as workshop backup.
Installing the Solar Panel System and Battery
Proper installation ensures longevity, safety, and optimal performance. Even the best components can underperform if mounted incorrectly or wired with undersized gauge. Follow these steps to create a robust solar powered shed or workshop on your vessel or dock.
1. Mounting the Panels
- Location: Choose a spot with minimal shading throughout the day. On a boat, the bimini, hardtop, or a dedicated solar arch works well. On a dock, consider a tilt‑adjustable frame that can be oriented toward the sun’s seasonal path.
- Mounting Hardware: Use marine‑grade stainless steel or aluminum brackets. Avoid dissimilar metals that could cause galvanic corrosion. If you’re attaching to a fiberglass or aluminum surface, use appropriate sealants (e.g., 3M 5200) to prevent water ingress.
- Wiring Path: Run UV‑rated, tinned copper PV wire (typically 10‑12 AWG for arrays under 200 W) from the panels to the charge controller. Keep wires as short as possible to reduce voltage drop, and secure them with UV‑stable zip ties or conduit.
2. Installing the Charge Controller
- Mount the controller in a dry, ventilated enclosure near the battery bank but away from direct sunlight and spray.
- Connect the PV input wires to the controller’s solar terminals, observing polarity.
- Connect the controller’s output to the bank using appropriately sized cables (often 6‑8 AWG for 20‑30 A systems). Include a fuse or circuit breaker on the positive line within 18 inches of the battery terminal.
3. Wiring the Battery Bank
- If using multiple batteries, wire them in parallel to maintain system voltage while increasing capacity. Use identical cables and torque all connections to the manufacturer’s specification.
- Install a battery disconnect switch (marine‑rated) for safety during maintenance.
- Add a shunt‑based battery monitor (e.g., Victron BMV-712) to track state of charge, voltage, and current in real time—valuable for managing loads on a boat.
4. Connecting Loads
- Run DC distribution wiring from the battery bank to your workshop’s outlets, lights, and tool chargers. Consider using a marine‑grade fuse block with individual circuit protection.
- For AC appliances (e.g., a small microwave or battery charger), incorporate a pure sine wave inverter sized to your peak load (typically 1,000‑2,000 W for a workshop). Mount the inverter in a ventilated area and connect it to the bank with heavy‑gauge cable and an inline fuse.
- Always observe proper polarity and use heat‑shrink tubing or marine‑grade connectors to prevent corrosion.
5. Maintenance Tips
- Inspect panel surfaces monthly for salt buildup; rinse with fresh water and a soft cloth.
- Check all electrical connections quarterly for tightness and signs of corrosion.
- Monitor battery voltage and temperature via your BMS or monitor; LiFePO₄ batteries are tolerant but extreme heat (> 60 °C) can shorten lifespan.
- After severe storms, verify that mounting hardware remains secure and that no water has infiltrated junction boxes.
By following these steps, you’ll create a solar powered shed or workshop that is both resilient and efficient—turning your marine workspace into a self‑sufficient hub for productivity and creativity.
Conclusion
A well‑designed solar powered shed or workshop setup ideas for marine applications offers more than just convenience; it provides independence, reduces operating costs, and minimizes your environmental footprint on the water. Start by assessing your energy needs, choose high‑efficiency, marine‑rated panels, pair them with a durable LiFePO₄ battery bank (or a quality AGM alternative), and install everything using proper marine‑grade wiring and protection devices. The process may seem detailed, but the payoff—quiet, clean power wherever you anchor—is well worth the effort.
To help you get started, we’ve compiled a curated list of products that meet the rigorous demands of marine solar installations. Simply click the links below to view current pricing, read detailed specs, and make your purchase with confidence. Remember, each link includes the appropriate affiliate tracking, so you’ll be supporting this guide while securing the best gear for your setup.
- LiTime Lithium Batteries
- Complete Off-Grid Solar Kits on Amazon
- Solar Inverters on Amazon
- MPPT Solar Charge Controllers on Amazon
- Portable Solar Generators on Amazon
- Solar Battery Storage on Amazon
- Monocrystalline Solar Panels on Amazon
- Nature's Generator Solar Systems
- Amazon Solar Products
- Lectron EV Chargers
- ALLPOWERS Solar Products
- Goal Zero Power Stations on Amazon
- EcoFlow Power Stations on Amazon
- 500W Solar Panels on Amazon
- 400W Solar Panels on Amazon
- Enphase Home Energy on Amazon
- SolarEdge Home Battery on Amazon
- Solar Roof Panels on Amazon
- SunPower Solar Panels on Amazon
- Victron Solar Products on Amazon
- Off-Grid Solar Panels on Amazon
- Renogy Solar Panels on Amazon
- Solar Generators on Amazon
- Jackery Power Stations on Amazon
- EcoFlow Delta Pro on Amazon
- 350W Solar Panels on Amazon
- 500W Polycrystalline Solar Panels on Amazon
- Solar Roof Panels on Amazon
- SolarEdge Home Battery on Amazon
- BLUETTI Portable Power Stations
- Eco-Worthy Solar Products
- Jackery Solar Generators
- FOSSiBOT Portable Power Stations
- Burchda Electric Bikes
- Sun Gold Power
- Redodo Power
- Power Queen LiFePO4 Batteries
With the right components and careful installation, your marine shed or workshop will become a reliable, sun‑powered haven for work, hobbies, and exploration. Happy sailing and building!
If you're serious about protecting your links, your data, and your brand, it's time to stop sharing raw URLs.
Start using Bilt.ly.
Get started free →